
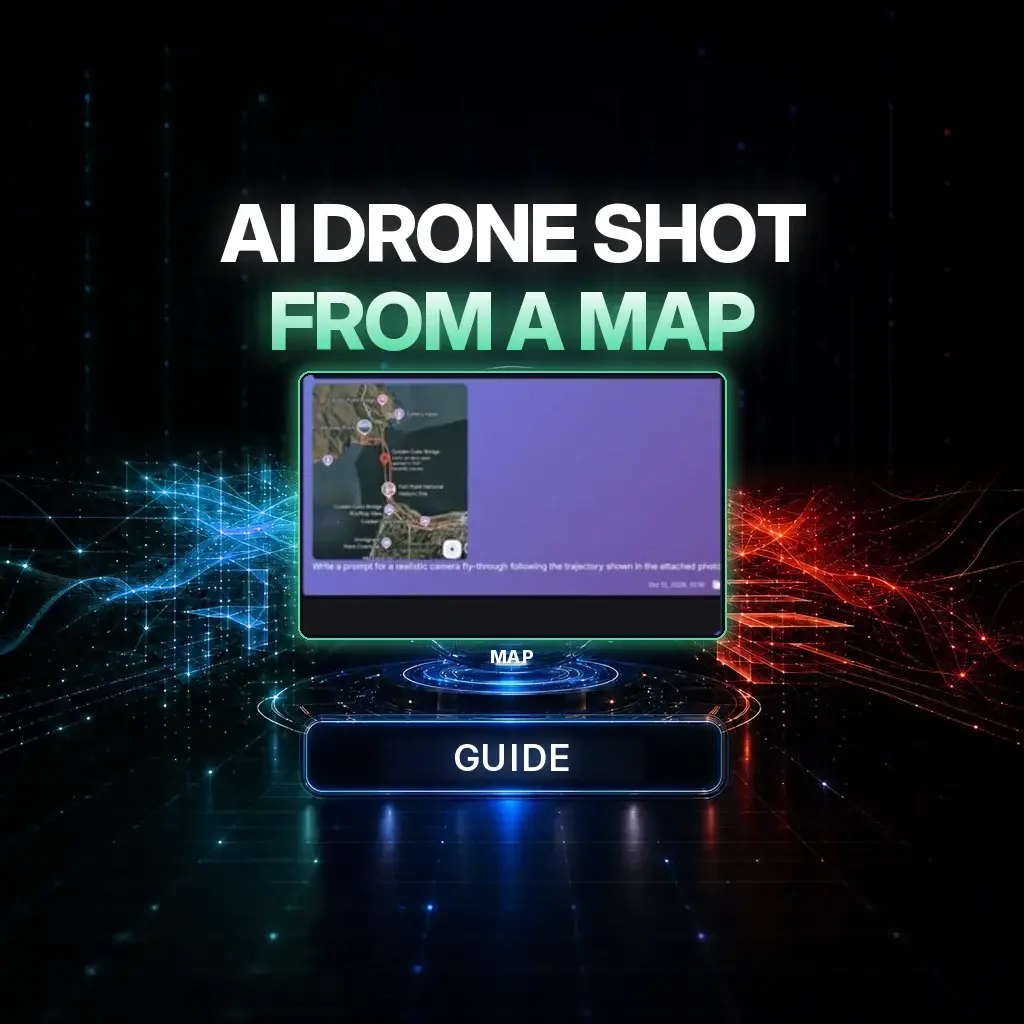
A cinematic AI drone shot can start as a map. You draw a continuous flight path, ask Chat Master to turn that route into a fly-through brief, and generate a point-of-view shot in which the red line, the arrow, and the map UI never appear.
The official NeuroHelper case study is a Golden Gate Bridge fly-through: start on the San Francisco / Presidio side, travel toward and along the bridge, then follow the curve toward the Marin Headlands. The map is a hidden motion guide, not a graphic in the film. Watch the result first. The still below is the marked route from the tutorial, shown at storyboard size — a planning document, not a hero banner.
The map is a path, not a picture in the sky
The map still in the official guide is a planning screenshot, including ordinary map interface chrome. It is here because that is how the public tutorial marks the route. When you make your own shot, a clean screenshot with a single drawn line is enough — and the prompt should still say to remove all map UI from the film.
The workflow: Screenshot a map and draw one continuous drone trajectory → upload it in Chat Master and ask for a realistic fly-through prompt that treats the line as a hidden path → in Video Master, attach the same route image, set a 10-second clip, paste the prompt, and generate → if objects pop in or vanish, simplify the scene and tighten temporal consistency.
Why the path has to stay hidden
If you allow the model to “show the route,” it will often paint the arrow onto the water or leave map labels in the sky. The official brief is blunt: use the attached map only as a hidden flight-path guide; the red line and arrow define the trajectory; they must never appear; remove all map UI, labels, pins, text, and route markings. The drone itself must never be visible — only drone POV. That is a different job from a character sheet or a product lock, but the habit is the same: give the model one job per reference. For other image-to-video paths see hooks, start and end frames, and animating old photos.
The production pipeline
1. Build the flight path
Take a map screenshot of the area you actually want to fly and draw one exact trajectory. Keep the route simple and continuous — a start, a few honest turns, an end. Optional: a real photograph of the same landmark (here, the Golden Gate Bridge) can be used as a realism reference, but the motion still comes from the path, not from a second map. Do not ask the model to show the arrow or the map itself.
2. Ask Chat Master to write the fly-through prompt
Open Chat Master, attach the marked map, and ask for a realistic, continuous drone-POV prompt that uses the line only as a hidden guide. The official tutorial screenshot used GPT-6 Astra Pro for this step; any current Chat Master model that can see the image can write the same kind of brief. Check that the returned prompt names the start, the turns, the end, the hidden-path rule, and a “no map UI” line before you leave the chat.
3. Generate in Video Master
In Video Master, the official settings block is simply: 10 seconds, attach the route image, paste the prompt, generate. The PDF does not name a video model, and this article will not invent one. Choose a current option in the picker — Seedance 2.5, Kling 4.0, and Wan 3.0 are live places to start — and confirm duration and output there. If the first pass shows popping landmarks or a visible route line, reduce scene complexity and restate temporal consistency rather than adding more adjectives.
Copy-ready Golden Gate prompt
Paste this after attaching your marked map. Retarget the geography if your path is a different city, but keep the hidden-path and POV rules.
Create an ultra-photorealistic cinematic drone fly-through of San Francisco's Golden Gate Bridge in one continuous shot. Use the attached map ONLY as a hidden flight-path guide. The red line and arrow define the exact trajectory, start point, turns and direction, but they must NEVER appear in the final video. Remove all map UI, labels, pins, text and route markings.

Start on the San Francisco / Presidio side, fly quickly and smoothly toward and along the bridge, then follow the route curve toward the Marin Headlands. The drone itself must never be visible — show only drone POV. Use natural daylight, realistic water and subtle coastal fog; the camera may briefly pass through thin mist.

Maintain strict temporal consistency: nothing may suddenly appear, disappear, duplicate, teleport or morph. Preserve the real bridge proportions, coastline, hills and traffic. Fast but controlled professional drone movement. No cartoon, stylized or CGI look.How to do this in NeuroHelper AI
- Chat Master. Map in, fly-through prompt out. Reject any brief that still asks to “show the route.”
- Video Master. Attach the same route image, set 10 seconds if the picker allows it, paste the prompt, pick a current video model without assuming which one made the official example.
- Audio Master, optional. Wind, distant traffic, or water can be added quietly in Audio Master. The official prompt is a picture brief; it does not require a score.
Compare current video models in the models hub, best AI video generators, and Seedance vs Kling. Related camera craft: new camera angles without a reshoot, cinematic action, and the realism playbook on temporal consistency. For travel and landscape work more broadly, see creative use cases.
Mistakes that ruin a map-based fly-through
- A visible red line, arrow, or map label in the sky or on the water. Restate the hidden-path rule and regenerate.
- A route with too many sharp corners. Simple and continuous is easier to fly smoothly.
- Showing the drone in frame. This is a POV shot, not a hero shot of an aircraft.
- Landmarks that pop in or teleport. Tighten temporal consistency and simplify the coastline rather than adding more scenery requests.
- Inventing a different end point than the one you drew. The map is the contract; the prompt should follow it.
Watch the official fly-through, then draw your own line
The test is simple: does it feel like a real drone reel, and is the map completely gone? Watch the case study once more, then mark a path over a city or coast you actually know.
Frequently asked questions
Can I really generate a cinematic drone shot from a map?
Yes. This workflow uses a map screenshot with a drawn flight path as a hidden motion guide, a Chat Master brief that forbids showing the route, and a short Video Master generation — 10 seconds in the official settings block. The finished film should look like drone POV footage, not like a map.
Which video model made the official Golden Gate example?
The official PDF does not name the video model. It only specifies Video Master, 10 seconds, the route image, and the prompt. Do not assume a specific model. Try a current Video Master option such as Seedance 2.5, Kling 4.0, or Wan 3.0, and confirm duration in the picker.
Which chat model should write the fly-through prompt?
The official tutorial screenshot used GPT-6 Astra Pro in Chat Master. Any current Chat Master model that can see the marked map can write the brief, as long as the result keeps the hidden-path rule and a clear start, route, and end.
The red line or map labels show up in the video. How do I stop that?
Restate that the map is only a hidden flight-path guide, that the red line and arrow must never appear, and that all map UI, labels, pins, and text must be removed. Do not ask the model to “show the route.”
Can I use a real photograph of the landmark as well as the map?
Yes, optionally. The official guide allows a real Golden Gate photo for stronger realism. The motion should still come from the drawn path, and neither the photo nor the map should introduce labels into the sky.
How much does a 10-second drone fly-through cost in NeuroHelper AI?
It depends on the model, duration, resolution, and references you choose. Video Master shows the current estimate before you generate. You can start with a $1 trial, then choose Basic $19 or Pro $49.