
Guides & Tutorials
You do not need a camera crew or a pile of subscriptions to make AI videos. You need a tight brief, a first frame when the model asks for one, and a current video model that can hold the shot for the length you actually need.
This beginner’s guide walks through that workflow in NeuroHelper AI, using official modules confirmed in the docs: write and refine the concept in Chat Master, generate or edit stills in Image Master, generate the clip in Video Master, and add a voiceover, narration, music, or sound effect in Audio Master when you want a separate audio pass. The worked example below is a real NeuroHelper case study: one sneaker photo, a Chat Master brief, Seedance 2.5, and the finished 20-second commercial, plus two shorter official films. Start with a $1 trial, then choose Basic $19 or Pro $49.
What you need
- A brief. One idea, a duration, an aspect ratio (16:9 or 9:16), and a clear ending. Draft it in Chat Master if you want help turning that into a shot list and a paste-ready prompt.
- A first frame or references, when the picker asks for them. Use a pack shot you already have, or generate and edit the still in Image Master with a current image model such as Midjourney 8.2, GPT Image 2.6, Nano Banana 2.1, or Seedream 5.5.
- A current video model in Video Master. The live catalog is on All AI Models. Use the names in the picker today.
- Time to review the clip before you publish an ad or a product demo.
The simple rule: decide the ending before you generate, attach every frame the picker asks for, and read the in-app estimate. A short, finished clip beats a long prompt that the model cannot hold.
Pick a model by the job
There is no single “best” AI video model. There is a best first test for the job in front of you. The ranges below come from the live NeuroHelper model pages, not a scored ranking. For how we talk about tests, see How We Test AI Models. A wider model-by-job overview lives on Best AI Video Generators in 2026; some version names on that page are being refreshed, so confirm the current picker in Video Master before you rely on a label.
| If you want | Start with | Documented range | What you attach |
|---|---|---|---|
| A longer story, many references, or a later edit | Seedance 2.5 | Up to 30 seconds in one generation, with up to two extensions. Native sound. A Video Edit path is available. | Text, plus the image, video, and audio references the picker shows. |
| A long take, dialogue, or an explainer | Wan 3.0 | Vendors list up to 30 seconds and native sound. In the app it is public beta, so picker durations may be shorter. | Text, a still, or the references Video Master shows. See also Wan vs Seedance. |
| A 3–30 second take that starts (and maybe ends) on your still | Kling 4.0 | 3–30 seconds at 720p or 1080p. Kling 4.0 Flash is the faster 720p tier in the picker: first frame only, 3–20 seconds. See the Kling 4.0 announcement. | A first frame is required. A last frame is optional on Kling 4.0, not on Flash. |
| A short cinematic shot, including 4K finals | Veo 3.1 Pro or Fast | 4, 6, or 8 seconds; 720p, 1080p, or 4K; 16:9 or 9:16; native sound. Pro is the higher-fidelity route with reference images; Fast is quicker. Eight seconds unlocks higher resolutions. | Text, a still, up to three reference images, and optional first and last frames. |
| A lower-cost short Veo clip | Veo 3.1 Lite | 4, 6, or 8 seconds at 720p or 1080p. Optional context-aware audio, on by default. No 4K or reference-image mode. See the Veo 3.1 Lite announcement. | A first frame is required in NeuroHelper AI. A last frame is optional. |
| A 15-second variation you can iterate quickly | MiniMax H3 or H3 Max | H3: 4–15 seconds, 768p with 2K output. H3 Max: 5–15 seconds at 480p or 768p, for faster drafts. Both generate sound with the picture. | An input image. Use Max to try ideas, then H3 when the final needs the higher output. |
| A new clip or an edit of a clip you already have, with sound | Gemini Omni 1.2 Flash | New clips are 3–15 seconds at 360p to 4K, with synchronized speech, music, and sound effects. Video Edit keeps the source length, up to 15 seconds. See the Omni 1.2 Flash announcement. | Create needs reference images (1–10). Video Edit needs the source clip. |
Also in Video Master: FLUX 3 Video, Grok Imagine Video 1.5, Runway Gen-4.5, and Seedance 2.0 — confirm each model’s range in the picker. If you are making ads, pair this table with How to Create AI Ads, How to Create AI Product Video Ads, and Advertising Studio, including AI Presenter Studio when you need an on-camera presenter rather than a generated scene.
Eight steps to your first AI video
The steps stay the same whether you are making a five-second hook or a 20-second product film. Only the model, the duration, and the attachments change. The official case study later in this guide follows this path.
1. Write the brief in Chat Master
Write down the first second, what moves, how the clip ends, the duration, and the aspect ratio. Paste that into Chat Master and ask for a shot list plus a prompt you can paste into Video Master. Keep the draft short enough for the duration you chose. The Chat Master prompt for the sneaker commercial is in the project section below; it is a paste-ready example, not a captured chat log.
2. Choose the model in Video Master
Open Video Master and pick from the table above. Before you generate, check the durations on offer, the resolution, and whether a first frame or references are required. The official product ad uses Seedance 2.5. If two models could work, run the same brief on both.
3. Write the motion prompt
Describe the opening composition (or “use the supplied image as the exact first frame”), the action in order, one camera move, and a hard ending — including what must not happen. If you are making a hook, say where the action stops; the five-second hook guide is built on that discipline. If the model generates sound, describe it and tie it to visible actions.
4. Lock a first frame in Image Master when the model needs one
Image Master is the image generation and editing workspace: text-to-image, image-to-image, edits, enhancement, and background removal. If you already have a sharp pack shot, attach that same still in Chat Master and again in Video Master — that is how the official sneaker ad was briefed. If the source photo is weak, or the model requires a generated opening frame, build it in Image Master first.
For a planned transformation, prepare a last frame and follow How to Make Viral AI Videos with a Start and End Frame. For a product still that has to stay itself, see How to Make a Cinematic AI Product Ad from One Photo.
5. Generate the clip
Attach the first frame or references, add a last frame if you are using one, set duration and resolution in the picker, and paste the prompt. Check the in-app estimate, then generate. If the product drifts, tighten the still and the lock in the prompt; do not add a new plot point to the same slot.
6. Add or keep sound
When the model generates sound with the picture, listen before you replace it. Seedance 2.5 does this on the official product ad; several other current models also document native sound on their pages (see the FAQ). If you want a separate voiceover, narration, music bed, or sound effect, use Audio Master. In the current catalog, start with ElevenLabs v3 for a spoken line, Suno v6, ElevenLabs Music, or MiniMax Music 3 for music, and ElevenLabs Sound Effects V2 for effects. We do not claim a separate Audio Master pass was used on the sneaker film; the official tutorial treats it as an optional finish if you want a tighter bed than the native Seedance pass.
7. Adjust the result
NeuroHelper AI is not a full timeline editor. Use Seedance 2.5 Video Edit for targeted changes on a Seedance clip, Gemini Omni 1.2 Flash Video Edit to change an existing clip from a text instruction (the result matches the source length, up to 15 seconds), or Video Upscaler when you only need a sharper export. If the hook, ending, or identity is wrong, generate a variation or change the frames. For a multi-shot film, see How to Make an AI Short Film and How to Create Consistent AI Characters.
8. Export and review
Download the clip from Video Master. Check that the product or face is the same at the end as at the start, that any on-screen type is spelled as you intended, and that the ending is the one you briefed. If you are building a week of posts, continue with How to Create a Month of Social Media Content with AI.
A first project you can finish today
This is a real NeuroHelper AI case study, not a made-up walkthrough. The official film is a 20-second, 9:16 commercial generated with Seedance 2.5 in Video Master from one product still. The full directing notes and the complete Video Master brief live in How to Make a Cinematic AI Product Ad from One Photo. Here is the same process, start to finish.
1. Chat Master: lock the story, then ask for the prompt
Open Chat Master, attach the sneaker still, and paste a request like the one below. This is a paste-ready example of how to brief Chat Master for this case study — not a captured chat transcript. Ask it to keep the timing and the character, and to return a single Video Master prompt with the product locked in every beat. The official guide’s full commercial brief is on the product-ad page if you want to paste that spine in as well.
I am attaching one product photo of a pair of sneakers. Using that exact product as the only product reference, write a single Video Master prompt for a 20-second 9:16 commercial.

Keep this story spine:
0:00–0:03 — the product sits large on the rear seat of a fictional unbadged sports car, then a focus pull to an elegant grandmother approaching the window
0:03–0:06 — she notices it and slowly lowers her sunglasses
0:06–0:08 — she breaks the window, the alarm starts, she stays composed
0:08–0:14 — she takes the same product and walks away
0:14–0:18 — getaway in a second fictional unbadged car, product visible beside her
0:18–0:20 — end card of the exact same shoes

Lock her identity, outfit, and the product in every beat. No real car badges. No dialogue in the picture pass. Return only the paste-ready Video Master prompt.
2. Image Master: use a sharp still, or build one if you need it
In this case study the reference is an existing product photo. Attach that same still in Chat Master and again in Video Master so the shoes cannot drift. Use Image Master if you need to generate or tidy a pack shot first — a cleaner crop, a plainer background, a vertical frame — then treat that output as the only product reference.
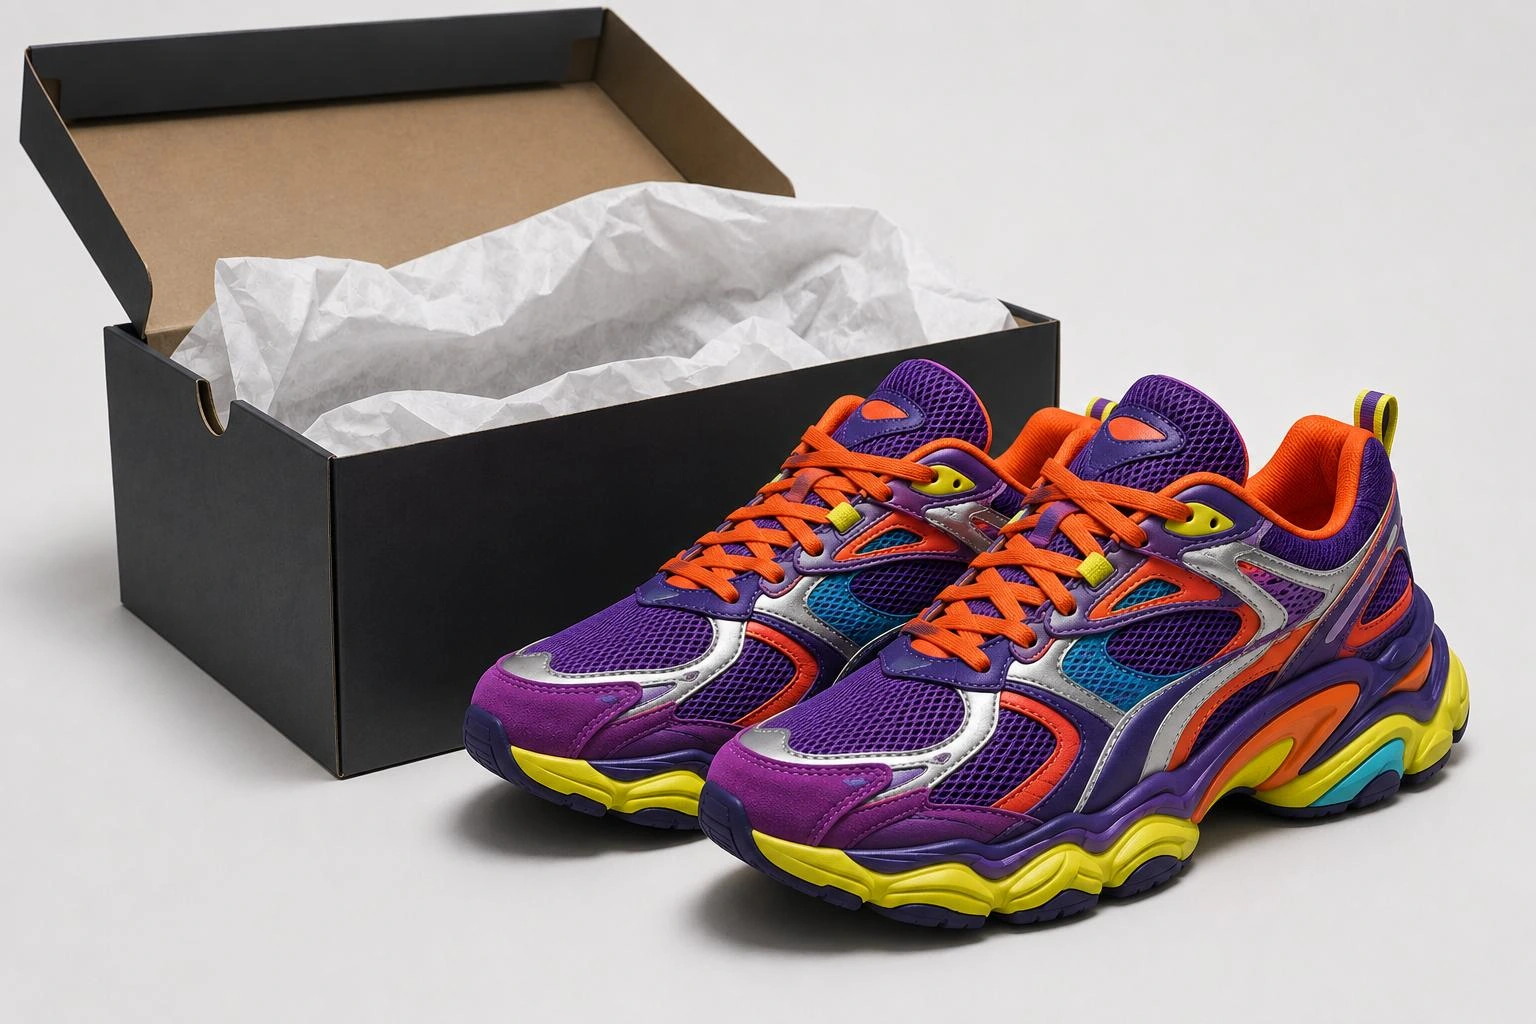
3. Video Master: generate the 20-second film
In Video Master, choose Seedance 2.5, attach the same still, set 20 seconds and 9:16 in the picker, and paste the adapted prompt in full. Duration, aspect ratio, and output live in the picker, not in the prompt. Watch the official result, then retarget the product paragraph to your own item.
Official NeuroHelper AI short (19–20 seconds): one still, Chat Master to adapt the brief, Seedance 2.5 in Video Master. A second official walkthrough, s62pvGFpjn4, covers the same method if you want another cut.
4. Audio Master: keep the native pass, or add a separate track
Seedance 2.5 generates sound with the picture; the official brief calls for a quiet street, a short glass break, the alarm, and engines, without wall-to-wall music. Listen to that native pass first. If you want a separate voiceover, narration, music bed, or effect, finish in Audio Master — the docs confirm those tools in that module. We are not claiming a separate Audio Master mix on this particular film.
Two more official examples
The same four modules scale down to a hook or a 10-second ad. These are also real NeuroHelper films, already published with their stills.
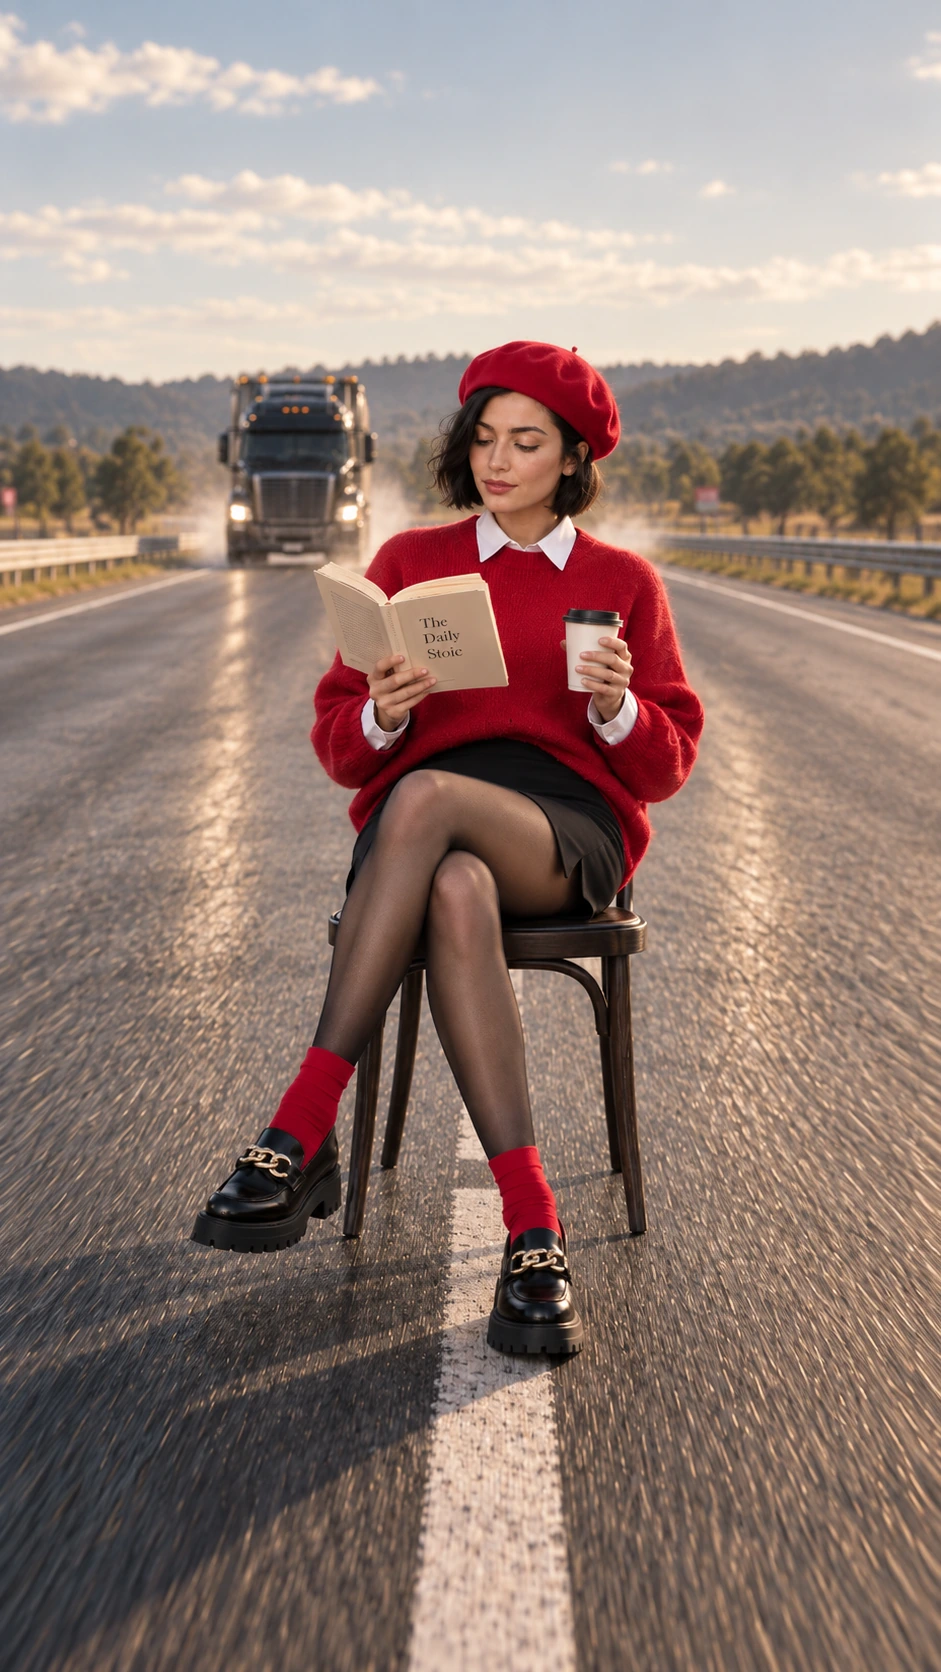
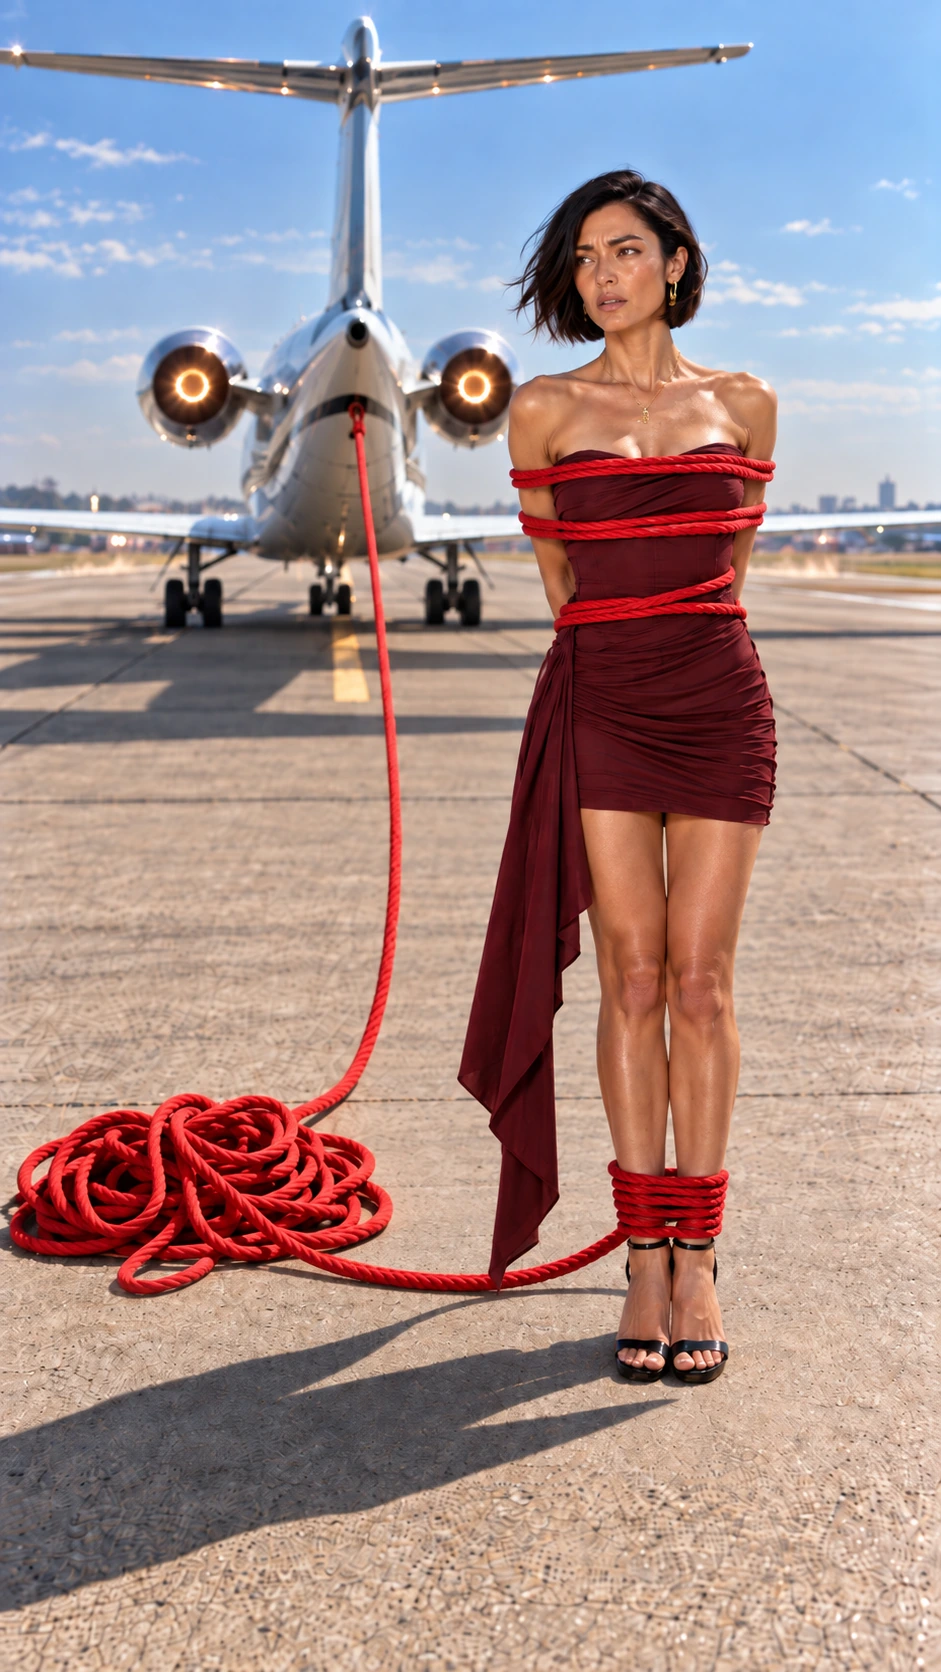
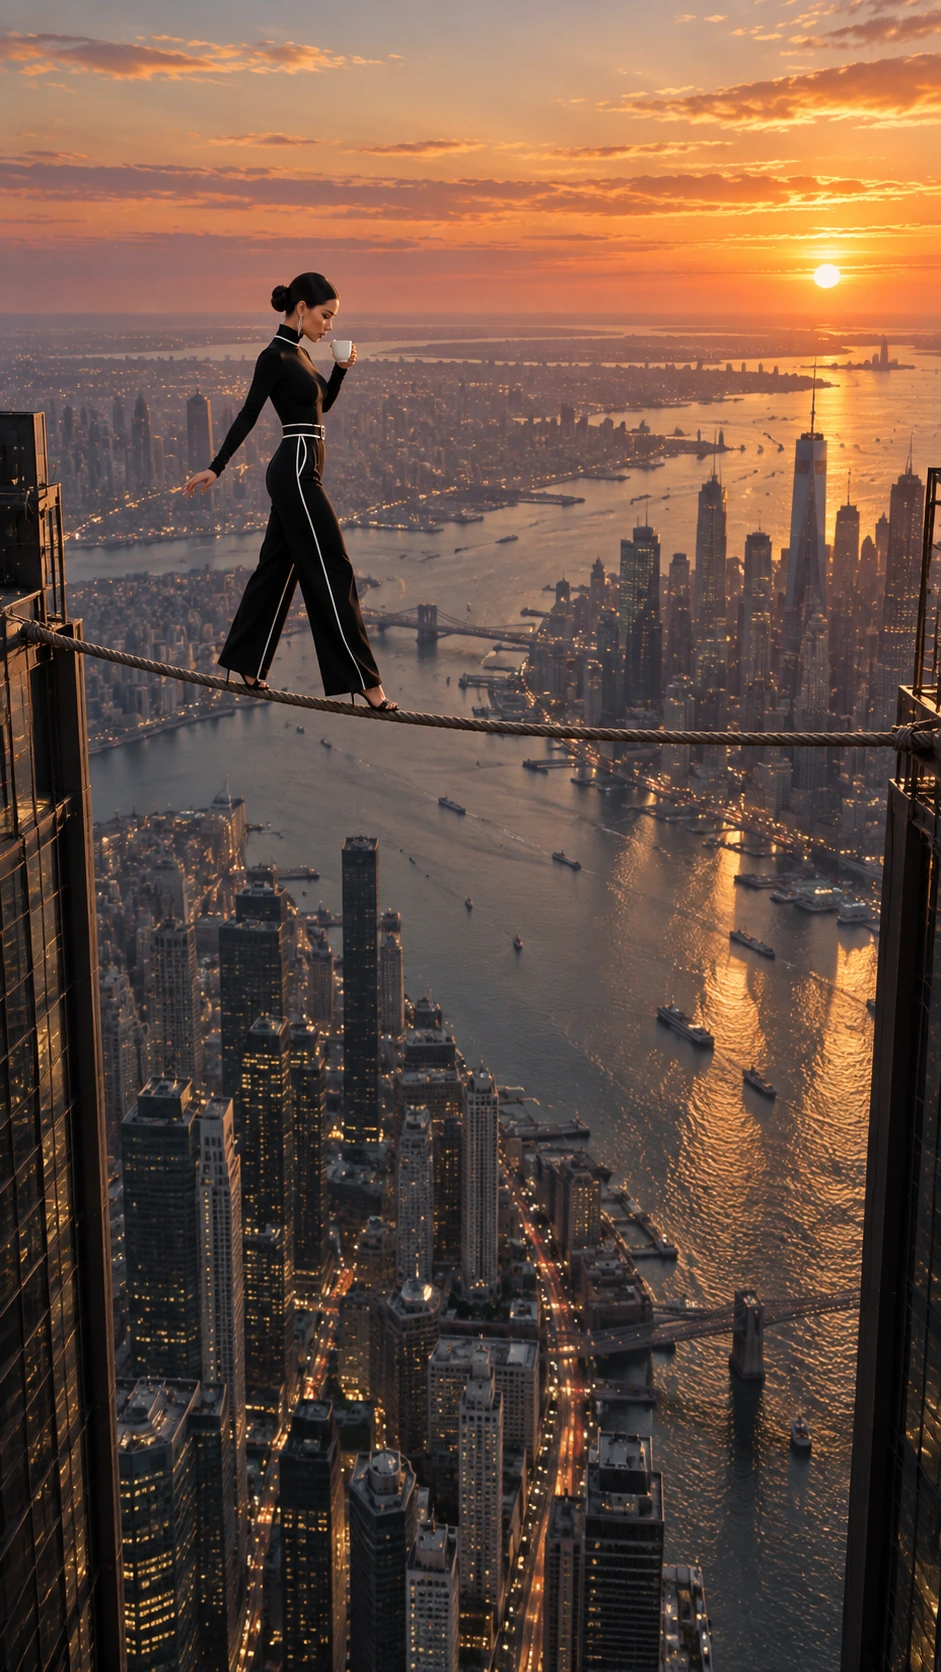
Five-second hooks from one photo. Each still below was treated as the exact start frame and animated in Seedance 2.5 for five seconds. The method — design a still that already contains the pressure, then end before the disaster — is in the AI video hooks guide. If you do not already have the still, generate the 9:16 opening frame in Image Master first.
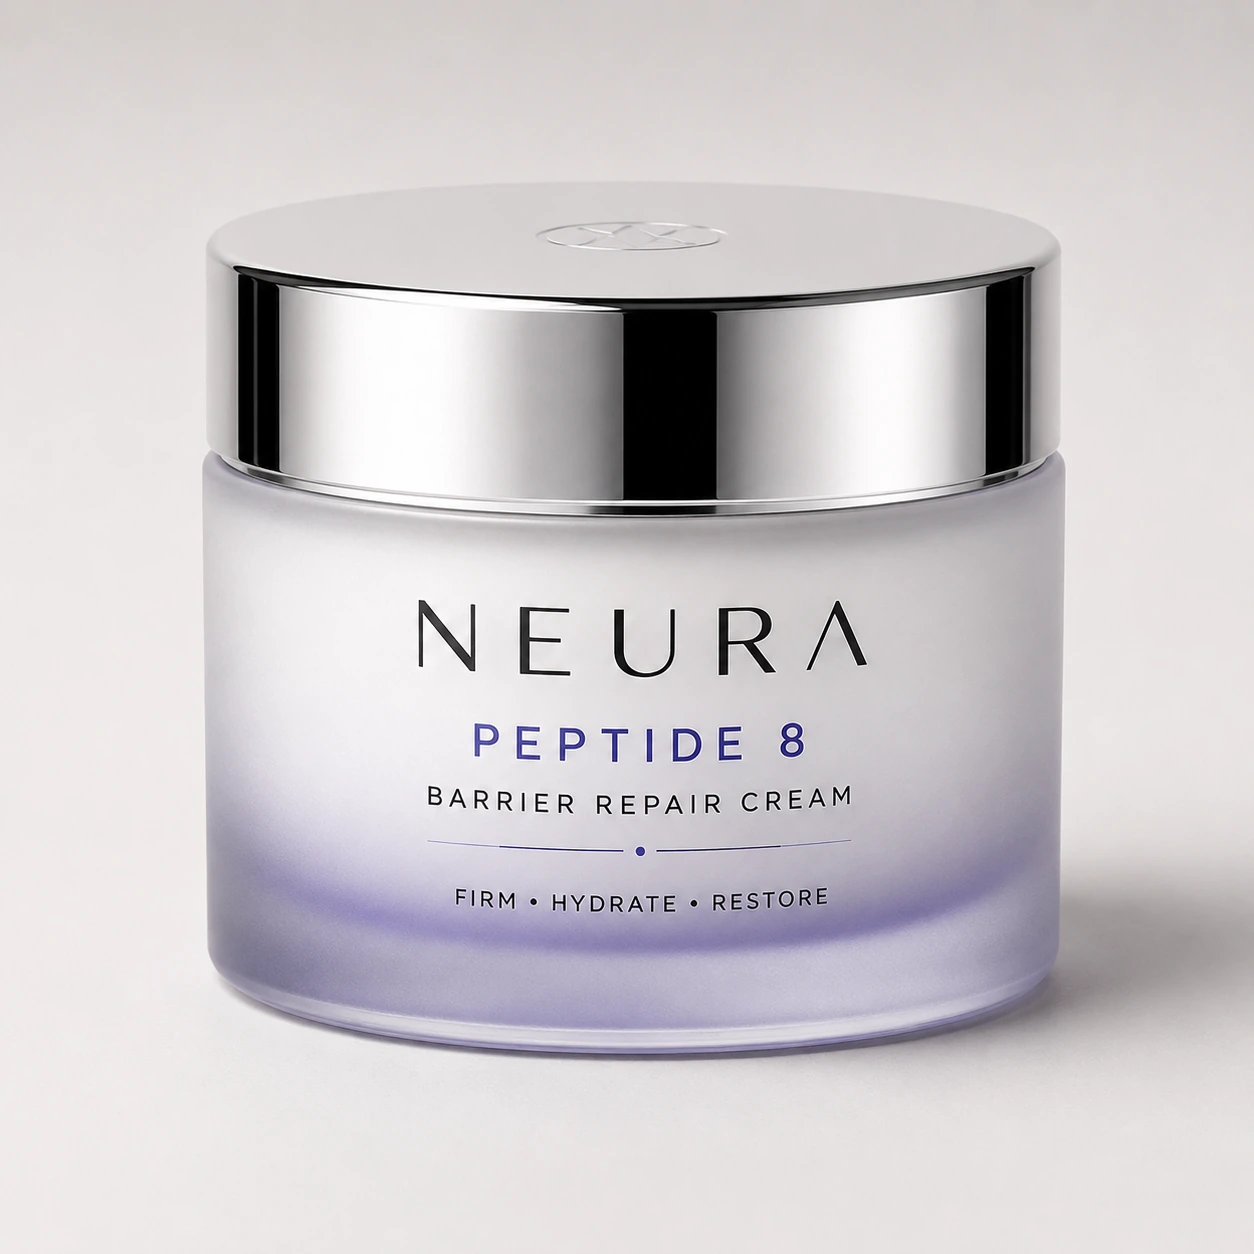
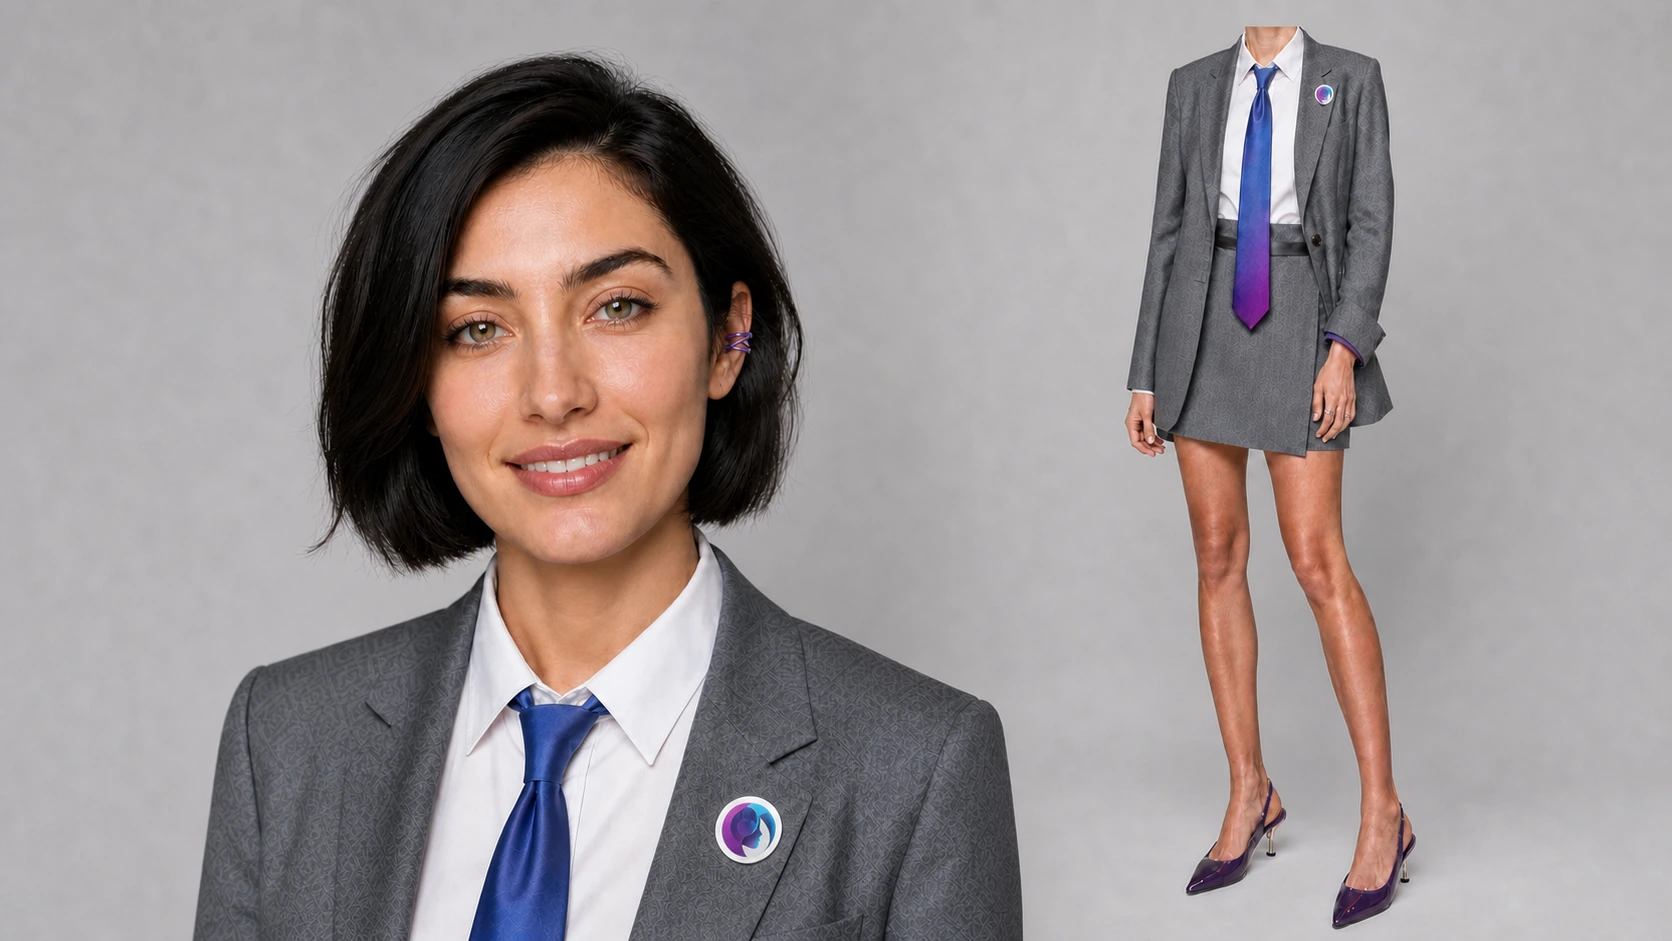
A 10-second billboard ad. This official Seedance 2.5 film starts from a product still and a character still. The physics rules and the full brief are in How to Make an AI Billboard Ad with Seedance 2.5.
Mistakes that waste a first clip
- Skipping the still the picker asked for. Kling 4.0, Veo 3.1 Lite, MiniMax H3, and Gemini Omni 1.2 Flash are not the same as a text-only route. If the UI wants a frame, attach one.
- Letting the product drift. In the sneaker ad, the end card is where models try to “improve” the shoes. Repeat the product lock there.
- Writing a 30-second story into an 8-second slot. Match the plot to the duration the model actually offers.
- Using an outdated model name. Work from the current Video Master list. Kling 4.0 is the current Kling route.
- Asking for a control the picker does not show. If there is no middle frame or no 4K option on that route, leave it out of the prompt.
- Publishing the first take as an ad. Review the product, the type, and the claims.
- Paying for a new subscription every time you change models. The models in this guide sit in one NeuroHelper AI workspace.
Where to go next
Once you can finish a single clip, use a more specific playbook:
- Cinematic product ad from one photo — the full sneaker brief.
- Scroll-stopping hooks from one photo — five-second openings.
- AI billboard ad with Seedance 2.5 — product plus character stills.
- Cinematic AI action videos — camera language and staging, with the official action short.
- Create an AI influencer — a recurring on-screen persona.
- How to create AI ads and best AI UGC ad generators — when the clip has to sell.
Frequently asked questions
Which AI video model should a beginner start with?
For a first clip, pick the model that matches the job, then compare one other model on the same brief. The official one-photo product ad in this guide was generated with Seedance 2.5 — a good start for a longer story or a video edit. Use Kling 4.0 when you already have a strong first frame and want a 3–30 second take. Use Veo 3.1 Lite or Fast for a short 4–8 second shot. Confirm duration, resolution, and required inputs in the Video Master picker before you generate.
Do I always need a first frame?
No. Some routes accept a text prompt, including Veo 3.1 Pro and Fast, FLUX 3 text-to-video, and Runway Gen-4.5 text-to-video. Others start from a still: Kling 4.0 needs a first frame (a last frame is optional), Kling 4.0 Flash and Veo 3.1 Lite start from a first frame, Gemini Omni 1.2 Flash needs reference images, and MiniMax H3 starts from an image. If the picker asks for a frame, make or refine it in Image Master, or attach a pack shot you already have.
How long can an AI video be in NeuroHelper AI?
It depends on the model you choose in Video Master. Seedance 2.5 and Wan 3.0 are documented at up to 30 seconds (Wan 3.0 is in public beta, so picker durations may be shorter). The official product ad in this guide is a 20-second Seedance 2.5 film. Kling 4.0 is 3–30 seconds, Kling 4.0 Flash is 3–20, Veo 3.1 is 4–8, MiniMax H3 is 4–15 (H3 Max 5–15), Gemini Omni 1.2 Flash is 3–15, FLUX 3 Video is up to 20, and Runway Gen-4.5 is 2–10. Always use the duration the picker actually offers.
Can these models generate sound?
Several current models generate sound together with the picture, including Seedance 2.5, which made the official product ad in this guide, plus Seedance 2.0, Wan 3.0, Veo 3.1, MiniMax H3 and H3 Max, Gemini Omni 1.2 Flash, FLUX 3 Video, and Grok Imagine Video 1.5. Describe the sound you want and tie it to visible actions. For a separate voiceover, narration, music track, or sound effect, use Audio Master.
How much does it cost to make an AI video in NeuroHelper AI?
It depends on the model, duration, resolution, and inputs you choose. Video Master shows the current estimate before you generate. Start with a $1 trial, then choose Basic $19 or Pro $49.
Do I need a separate subscription for each model?
No. In NeuroHelper AI, the video models in this guide are available in Video Master under one subscription, alongside Image Master, Chat Master, and Audio Master. Check the plan table for which models your plan includes.
Is Wan 3.0 ready to use?
Yes. Wan 3.0 is available in Video Master and is currently labeled public beta. Beta means settings, limits, and output quality can change while the integration is tested. Review every clip before you publish it.
Can I edit a clip after I generate it?
Yes, on specific routes. Seedance 2.5 includes a Video Edit path for targeted changes. Gemini Omni 1.2 Flash Video Edit changes an existing clip from a text instruction and keeps the source length, up to 15 seconds. Video Master also has a Video Upscaler. This is not a full timeline editor: for a different hook or ending, generate a variation or set a last frame.