Guides & Tutorials
Image-to-video AI takes one still, a product photo, a portrait or a frame you generated, and turns it into a moving shot that starts exactly where your picture does. The photo does the hard part: it fixes the subject, the light and the composition, so your prompt only has to describe what moves.
This guide shows the full path in NeuroHelper AI: plan the shot in Chat Master, make or fix the frame in Image Master, animate it in Video Master with Kling 4.0, Seedance 2.5 or Veo 3.1, and finish the sound in Audio Master. Every example below is a real NeuroHelper AI film made from a still, with the frames it started from.
What image-to-video actually does
Text-to-video invents the first frame for you. Image-to-video does not: you give the model the picture, and it has to keep it. That is why it is the most predictable way to get the product, the person or the room you actually want on screen. There are three ways to use a still:
- Start frame. Your photo becomes the first frame and the prompt describes the motion. This is how the hooks, the old-photo memory and the product film below were made.
- Start frame and end frame. You upload two stills and the model creates the movement between them. Use it for transformations and reveals that must land on an exact picture.
- Reference images. The images guide identity, product and style, and the model composes the shot. Seedance 2.5 accepts many references, Gemini Omni 1.2 Flash takes 1 to 10, and Veo 3.1 up to three.
The simple rule: the photo decides what the viewer sees, and the prompt decides only what changes. Anything that is not in the frame, the model has to invent, and that is where clips go wrong.
What you need
- One still you have the right to use, sharp, in the aspect ratio of the final video (9:16 for Shorts, Reels and TikTok; 16:9 for YouTube and websites).
- One sentence about the motion: what moves, how the camera moves, and how the shot ends.
- A duration that fits the idea: about 5 seconds for a hook, 8 to 10 for a reveal, 15 to 30 for a small story.
- A NeuroHelper AI workspace, where the chat, image, video and audio models in this guide sit under one subscription.
Pick an image-to-video model by the job
There is no single best image-to-video model, only a best first test for the shot in front of you. The ranges below come from the live NeuroHelper AI model pages. For a wider view, see Best AI Video Generators in 2026, Seedance vs Kling and Kling vs Veo.
| If you want | Start with | Documented range | What you attach |
|---|---|---|---|
| One long take that starts on your photo, and maybe ends on a second one | Kling 4.0 | 3–30 seconds in one take, 720p or 1080p. Kling 4.0 Flash is the faster tier for motion tests: 3–20 seconds at 720p. | A first frame (required) and an optional last frame. Flash uses a first frame only. |
| A hook, a story or an ad with native sound | Seedance 2.5 | Up to 30 seconds in one generation, up to two extensions, native audio. A Video Edit route is available for later changes. | A start image, or image references (plus video and audio references if you need them). |
| A short cinematic shot, including 4K finals | Veo 3.1 Pro or Fast | 4, 6 or 8 seconds; 16:9 or 9:16; up to 4K (8 seconds unlocks higher resolutions); native audio. Fast is the quicker route for drafts. | A still, a first and a last frame, or up to three reference images. |
| A lower-cost short Veo clip | Veo 3.1 Lite | 4, 6 or 8 seconds at 720p or 1080p, with optional audio. No 4K or reference-image mode. | A first frame (required) and an optional last frame. |
| A talking or narrated clip from product or person stills | Gemini Omni 1.2 Flash | 3–15 seconds, 360p to 4K, 16:9, 9:16 or auto, with synchronized speech, music and sound effects. | 1 to 10 reference images. |
Also in Video Master with an image input: Wan 3.0, MiniMax H3, Runway Gen-4.5, FLUX 3 Video and Grok Imagine Video 1.5. Confirm each model's durations and inputs in the picker. The full list is on All AI Models.
How to turn a photo into a video, step by step
The same eight steps work for a five-second hook and a twenty-second product film. Only the frame, the model and the duration change.
1. Decide the move and the ending
Before you open any module, write one sentence: what is in the photo, the one thing that moves, the camera move, and the last thing the viewer sees. Add the duration and the aspect ratio. A five-second vertical hook, a ten-second room reveal and a twenty-second product film need different photos and different models, so decide this first.
2. Write the shot in Chat Master
Attach the photo in Chat Master and ask for one image-to-video prompt that treats the image as the exact first frame. A current model such as GPT-6.1 Terra Pro or Claude Sonnet 5 can see the image and describe what has to stay fixed. Use the paste-ready request below and edit the brackets.
Look at the attached image. I want to turn it into a [5]-second [9:16] video with [Kling 4.0].
Write one image-to-video prompt that:
- uses the image as the exact first frame;
- keeps the same subject, face, clothes, product details, setting and light;
- describes one main action in time order;
- names one camera move;
- says exactly how the shot ends;
- describes the sound and ties it to visible actions;
- ends with what must not happen (no new people, no text, no cuts, no morphing).
Keep it under 120 words.
3. Make or fix the start frame in Image Master
If you have no photo yet, generate one in Image Master: Midjourney 8.2 returns four options per prompt and accepts parameters such as --ar 9:16, and Seedream 5.5 creates from a prompt with up to 10 reference images. If you already have a photo, edit it instead of starting over: Nano Banana 2.1 starts from your image (up to 14 references, output at 1K, 2K or 4K), and GPT Image 2.6 repaints only the area you mask. Make the still in the same aspect ratio as the video you want.
4. Add a last frame when the shot must land somewhere
For a transformation, a reveal or a product shot that must finish on the pack, make a second still: the same image after the change. Edit the first frame rather than generating a new picture, so the room, the light and the person stay the same. In our loft example the first frame came from Seedream 5.5 and the furnished last frame was edited with Nano Banana 2.1.
5. Choose the model in Video Master and attach the frames
Open Video Master, pick a model from the table above, and attach exactly what the picker asks for: a first frame, a first and a last frame, or reference images. Then set duration, resolution and aspect ratio in the picker, not in the prompt. If two models fit, run the same frame through both.
6. Write the motion prompt
Start with "use the attached image as the exact first frame", list what must not change, then describe the motion in time order, one camera move, the ending, and the sound. Finish with what must not happen: new people, extra objects, text, cuts or morphing. The template below is a safe starting point.
Use the attached image as the exact first frame.
Keep [the subject], [details that must not change] and the lighting exactly as they are.
0–2 s: [a small first motion: a blink, steam, fabric moving].
2–4 s: [the main action].
4–5 s: [the ending beat], then hold the final composition.
Camera: [one move, for example a slow push-in].
Sound: [ambience and effects tied to what we see].
Do not add new people, objects or text. No cuts, no morphing, no face or product changes.
7. Generate a short test, then change one thing
Render the shortest useful version first, or a faster tier such as Kling 4.0 Flash or Veo 3.1 Fast. If the subject drifts, repeat the lock line. If too much happens, remove a verb. If nothing happens, name the motion more concretely. Change one variable per run so you know what fixed it.
8. Finish the sound in Audio Master and export
Several models generate sound with the picture; listen to that pass first. For a separate voiceover, music bed or sound effect, use Audio Master with ElevenLabs v3, Suno v6 or ElevenLabs Sound Effects V2. Video Master also has a Video Upscaler for the final file. Review faces, hands, product details and any text before you post.
Six real examples, from one photo to a finished clip
All six films were made in NeuroHelper AI and published on our channel. Each one shows a different way to use a still. The full prompts and settings are in the linked guides.
1. One photo, five seconds: scroll-stopping hooks
Each still already contains the joke: a calm woman and a pressure that is about to arrive. The still is the exact start frame, Seedance 2.5 animates five seconds, and the clip ends before the disaster. The three prompts are in the AI video hooks guide.
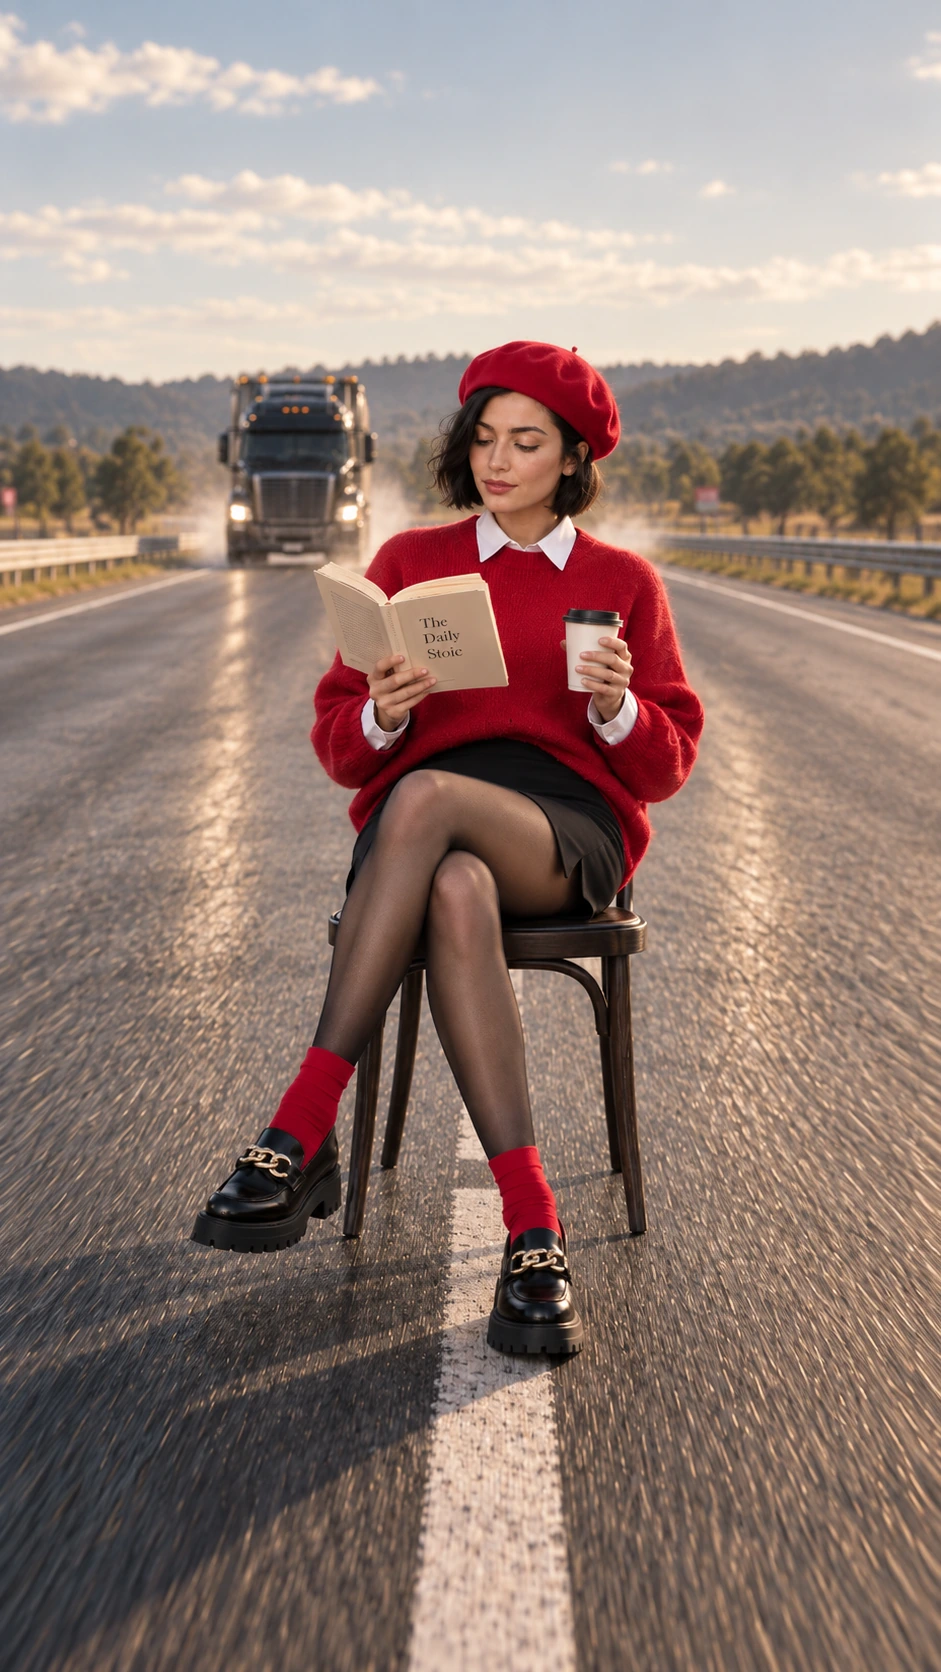
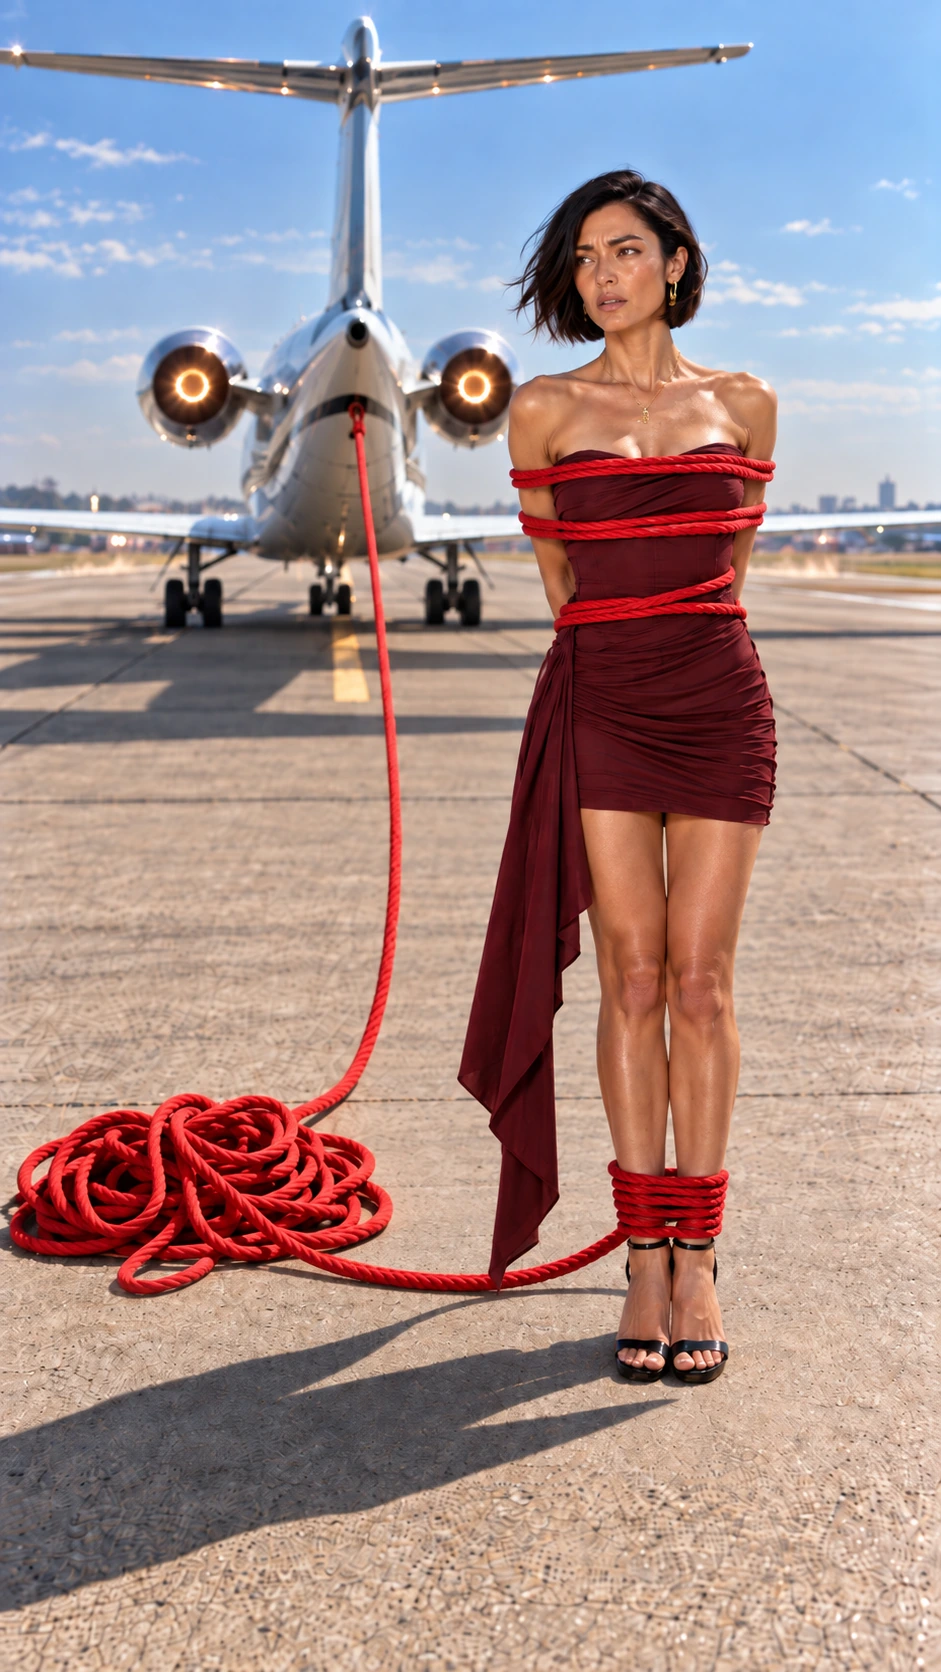
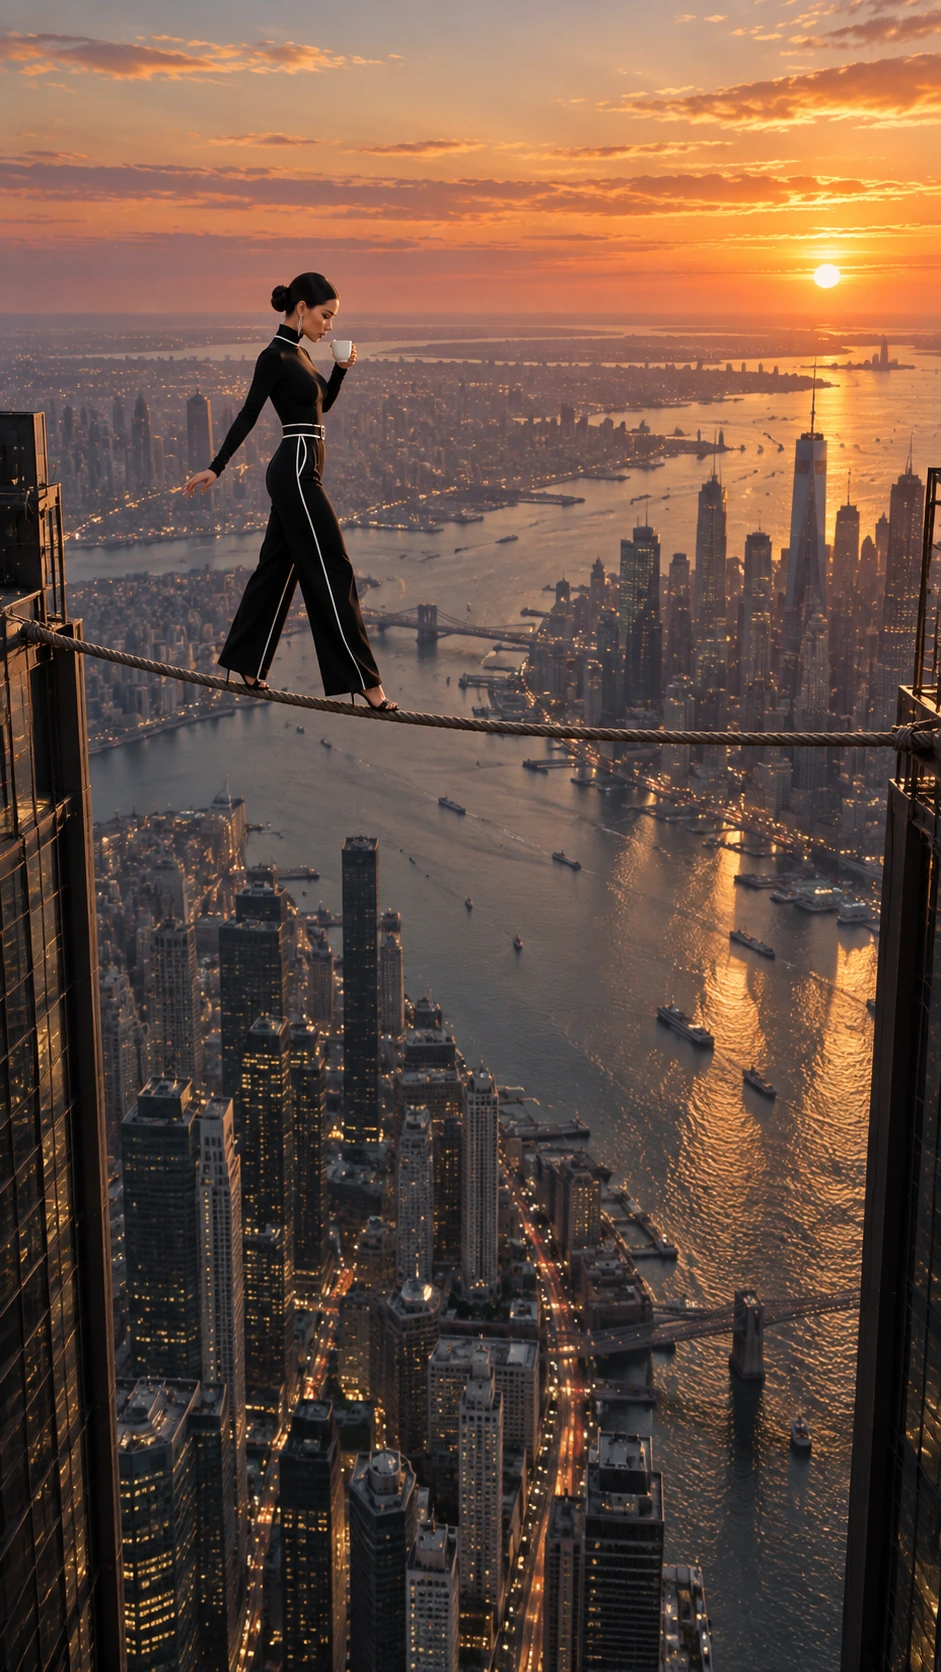
What to copy: put the threat in the frame, and write where the action stops.
2. A first and a last frame: an empty loft that furnishes itself
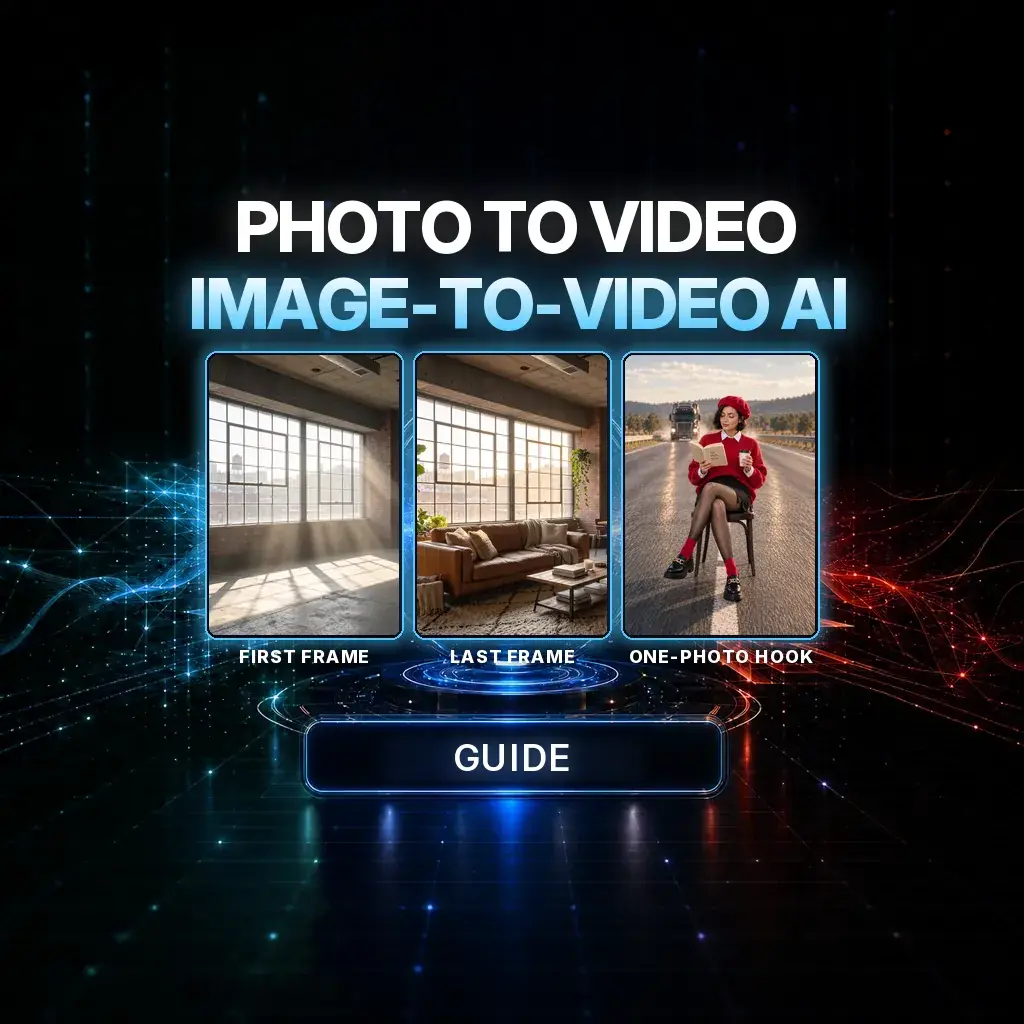
This is the whole Image Master to Video Master path in one clip. The empty loft was created with Seedream 5.5. The same image was then edited with Nano Banana 2.1 into the furnished version, so the windows, bricks and light stayed identical. Kling 4.0 animated the change between the two frames in one continuous take, with the sound from the generation. The video shows the first 6.5 seconds of a 10-second clip.
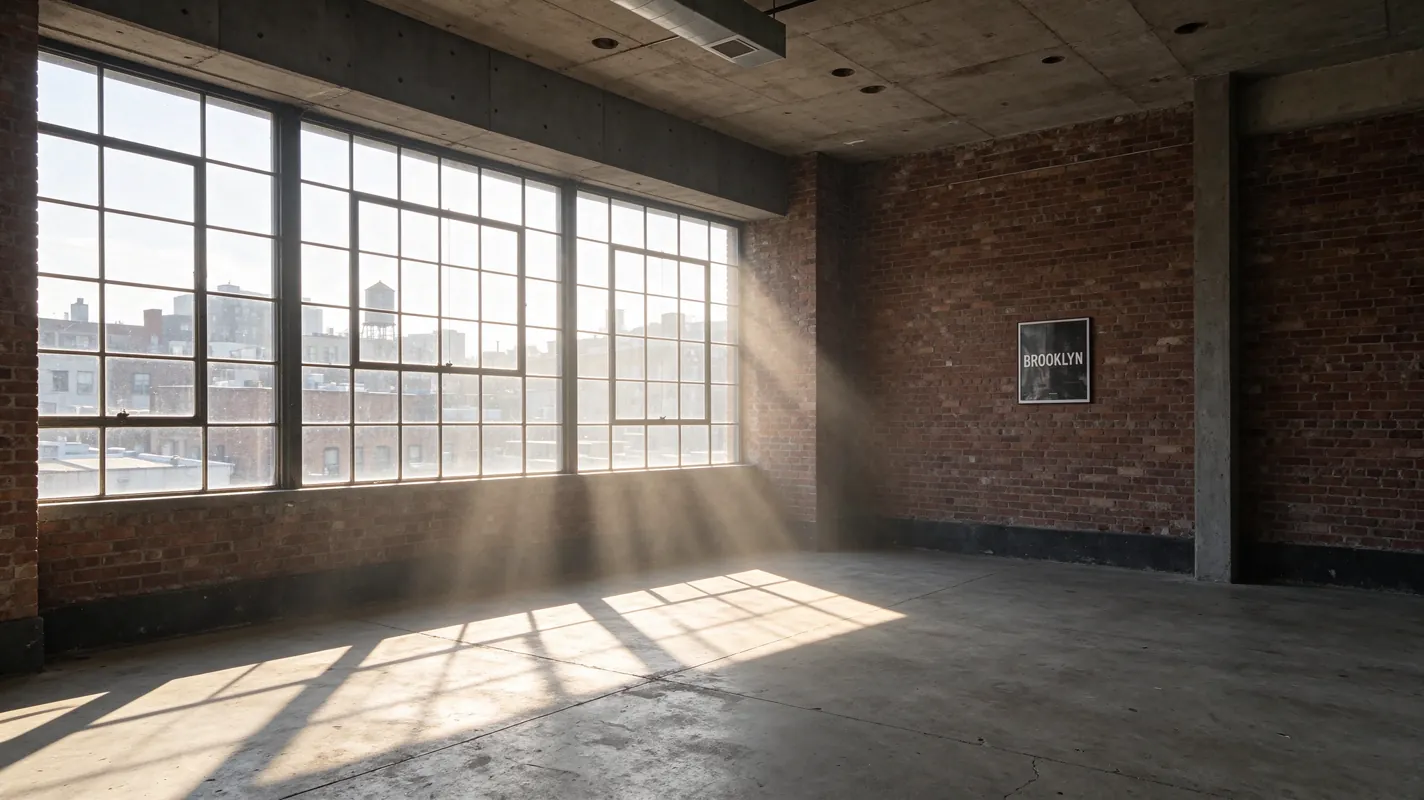
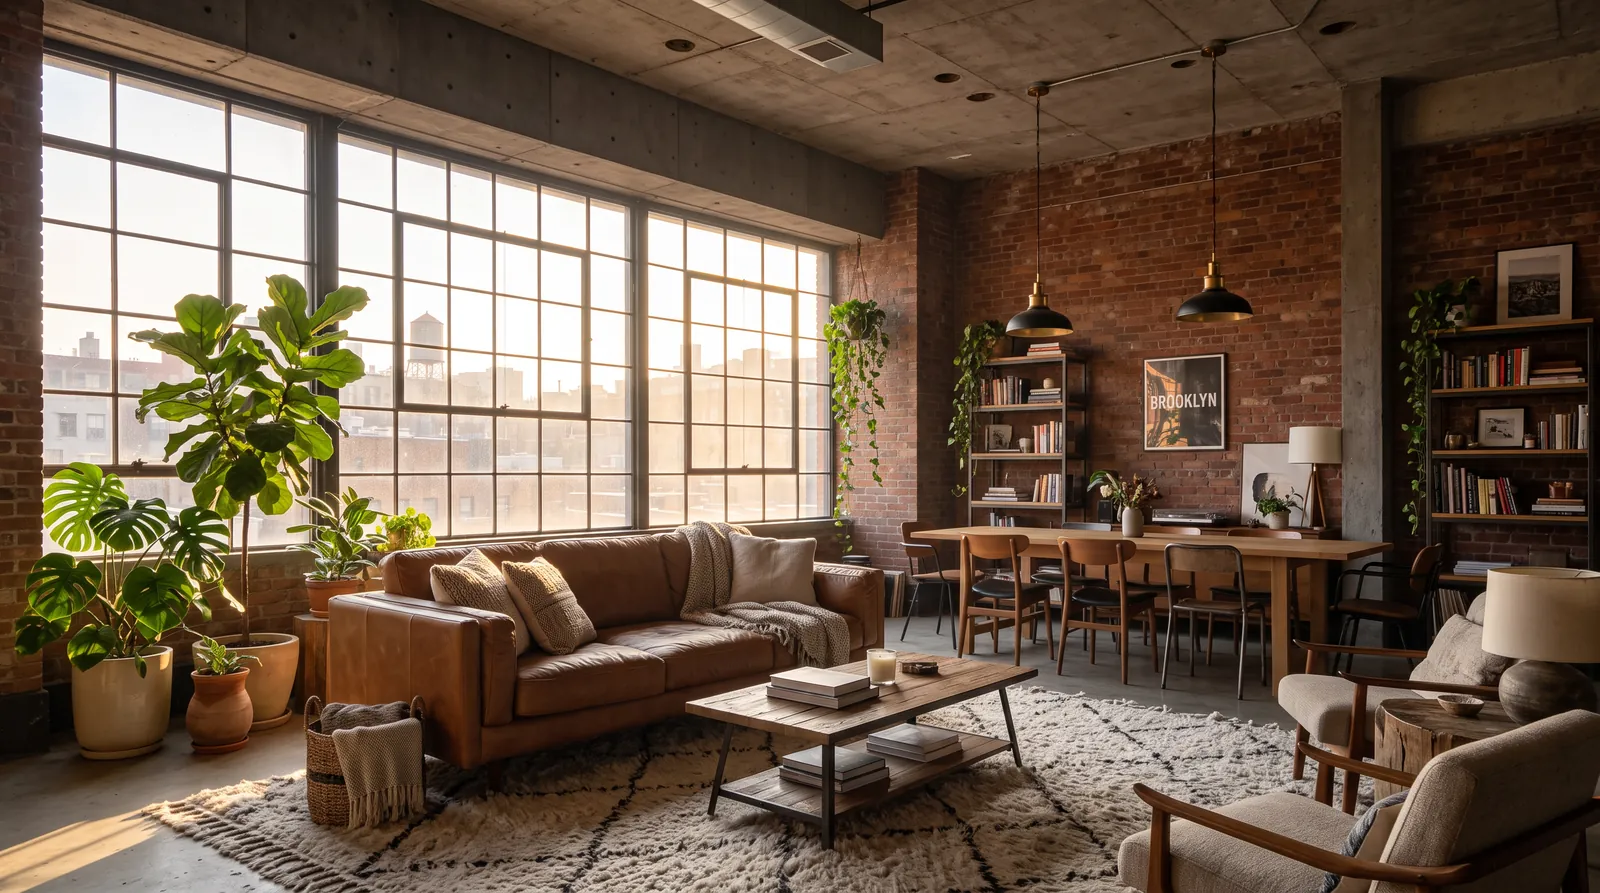
What to copy: make the last frame by editing the first one. More first and last frame clips are on the Kling 4.0 page, and the two-stills method with Seedance 2.5 is in How to Make Viral AI Videos with a Start and End Frame.
3. A product photo into a 20-second commercial
One honest pack shot of the sneakers is the only product reference. Chat Master adapted a 20-second commercial brief to that photo, and Seedance 2.5 generated the film with sound. The hard part is keeping the product identical in every beat, including the final frame, so the brief repeats the product lock. The full brief is in How to Make a Cinematic AI Product Ad from One Photo.
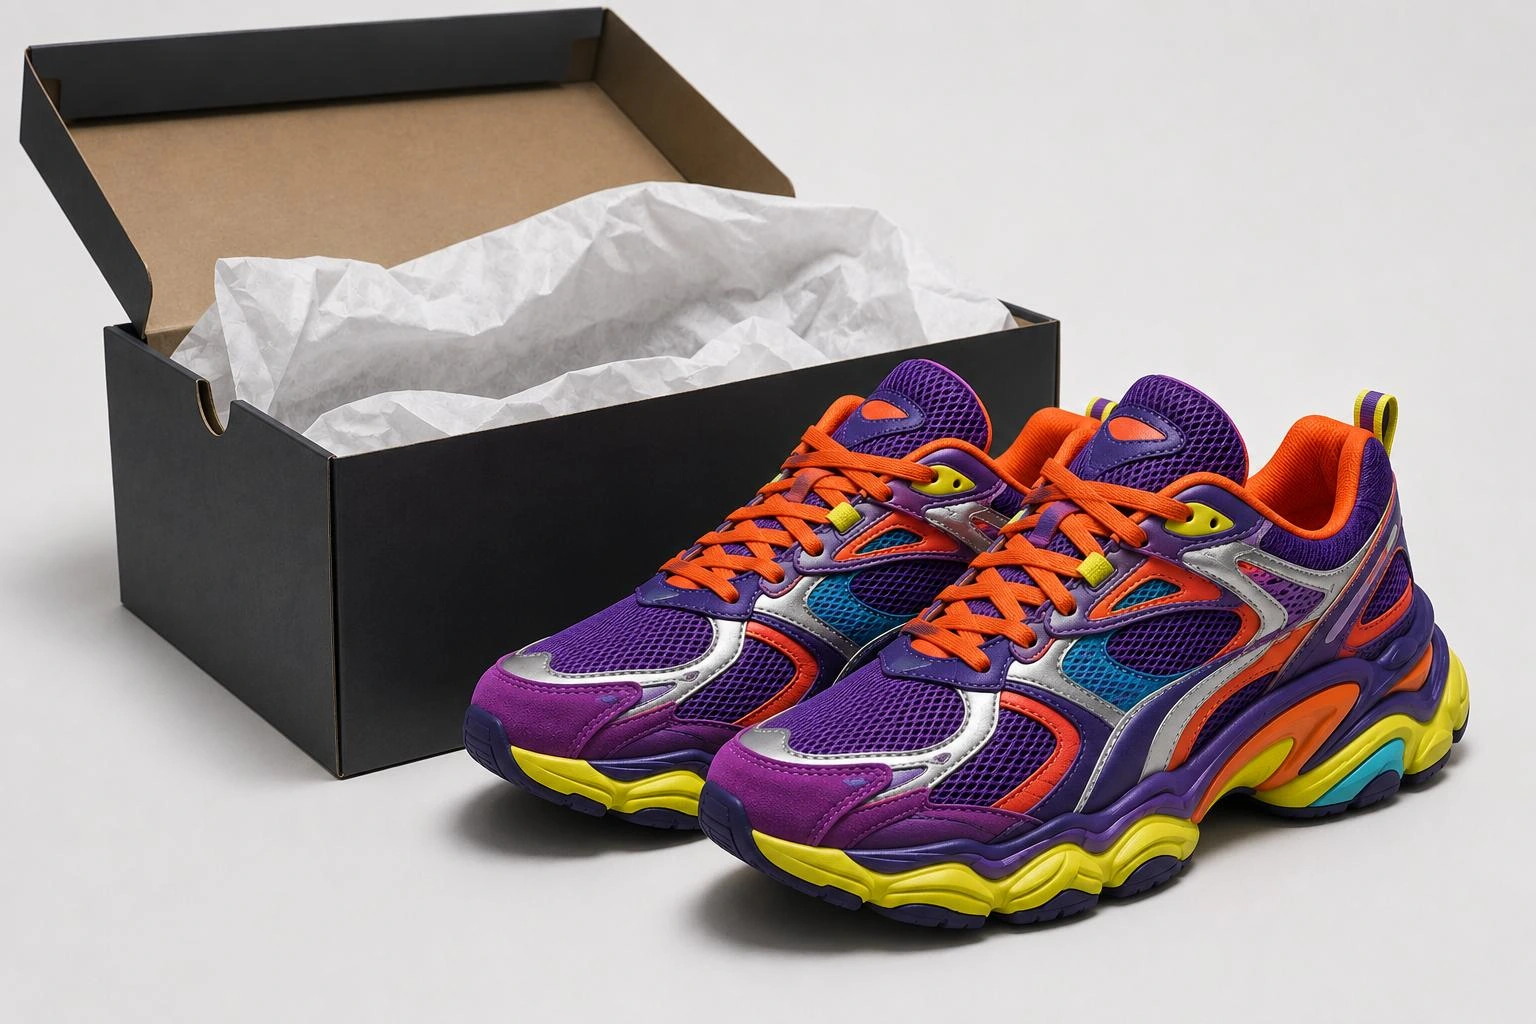
What to copy: name the photo as the only product reference and restate it at the end.
4. An old family photo into a living memory
The opposite of a hook: the people, clothes and room stay exactly the same, and the motion is a blink, a breath, a small smile or a gentle hug. This film was made in NeuroHelper AI Video Master, and the same method works with Kling 4.0 today. The quiet prompt and the mistakes to avoid are in How to Animate Old Photos with AI. Use photos you have the right to work with, and take extra care with pictures of children.
What to copy: ask for less motion than you think you need.
5. A map into a cinematic drone shot
Here the still is not a picture of the scene at all. It is a map screenshot with one drawn flight path. Chat Master turns the route into a drone point-of-view prompt, and the same image is attached in Video Master as a hidden motion guide: the red line, arrow and map labels must never appear in the film. The tutorial does not name the video model, so pick a current one. The prompt is in How to Make a Cinematic AI Drone Shot from a Map.
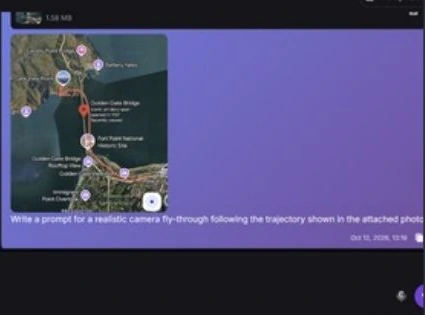
What to copy: give each reference one job, and say what must not appear.
6. A product frame into a talking UGC ad
The opening image already set the fictional clip-on microphone, the creator, the workspace and where the product sits. The model then generated the performance, synchronized speech, small facial expressions and handheld phone movement. This test was made with the earlier Gemini Omni release; in Video Master today, use Gemini Omni 1.2 Flash, which takes 1 to 10 reference images and generates speech, music and sound with the picture. For the full ad workflow, see How to Make AI UGC Ads.
What to copy: solve product placement in the still, so the video only has to perform.
Mistakes that break an image-to-video clip
- Asking for what is not in the frame. A truck, a second person or a logo that is not in the still will be invented, and usually badly. Put it in the image first.
- The wrong aspect ratio. A horizontal photo turned into a vertical video gets cropped or padded. Make the still in the output ratio.
- Too much action for the duration. Five seconds holds one action. Save the story for 15 to 30 seconds on Seedance 2.5 or Kling 4.0.
- Letting the model improve the subject. Faces, products and labels drift when the prompt does not lock them. Repeat the lock line, especially for the ending.
- A weak start frame. Blur, tiny faces and heavy text in the image get worse in motion. Fix the frame in Image Master before you spend a video generation.
- Changing three things at once. Change one variable per run so you know what helped.
- Photos you are not cleared to use. Use your own images or images you have the rights to, and get consent before you animate a real person.
Where to go next
Once one photo moves the way you want, pick a playbook for the format:
- Scroll-stopping hooks from one photo: five-second openings.
- Viral AI videos with a start and end frame: two stills, one transformation.
- Cinematic product ad from one photo: the full sneaker brief.
- Animate old photos: living memories with small motion.
- AI drone shot from a map: a route image as a hidden guide.
- How to Make AI Videos: the beginner's overview, including text-to-video.
Frequently asked questions
What is image-to-video AI?
Image-to-video AI turns a still image into a short video clip. You upload a photo or a generated frame, describe the motion, and the model animates it while keeping the subject, setting and light from the image. Some models also accept a last frame, so the clip ends on an exact picture, or several reference images that guide identity and style.
Which AI model is best for image to video?
It depends on the job. In NeuroHelper AI, Kling 4.0 is a strong first test when you want one long take from your photo, from 3 to 30 seconds, with an optional last frame. Seedance 2.5 suits hooks, stories and ads of up to 30 seconds with native sound. Veo 3.1 suits short 4 to 8 second cinematic shots, up to 4K. Gemini Omni 1.2 Flash makes 3 to 15 second clips with speech, music and sound from 1 to 10 reference images. Run the same frame through two of them and keep the better take.
How do I animate a picture with AI?
Open Video Master in NeuroHelper AI, choose an image-to-video model such as Kling 4.0 or Seedance 2.5, attach the picture as the first frame, and write a short prompt that keeps the subject the same and describes one motion and one camera move. Generate a short test, adjust one thing at a time, then add sound in Audio Master if the model did not generate it.
How long can an image-to-video clip be?
It depends on the model you pick in Video Master. Kling 4.0 makes 3 to 30 seconds in one take and Kling 4.0 Flash 3 to 20 seconds. Seedance 2.5 goes up to 30 seconds. Veo 3.1 makes 4, 6 or 8 second clips. Gemini Omni 1.2 Flash makes 3 to 15 seconds. Always use the durations the picker shows.
Can I set both the first and the last frame?
Yes, on some models. Kling 4.0 takes a required first frame and an optional last frame. Veo 3.1 Pro and Fast have a first and last frame mode. Our start and end frame guide uploads both stills to Seedance 2.5 and describes only the motion between them. Kling 4.0 Flash uses a first frame only.
Do image-to-video models add sound?
Several do. Seedance 2.5, Veo 3.1 and Gemini Omni 1.2 Flash generate sound together with the picture, and Kling 4.0 clips come with sound from the generation. Describe the sound you want and tie it to visible actions. For a separate voiceover, music track or sound effect, use Audio Master.
What kind of photo works best for image to video?
A sharp image in the same aspect ratio as the video you want, with the subject clearly visible and room for the motion you plan. Everything the viewer should see must already be in the frame. Avoid heavy text, tiny faces and cluttered edges. If the photo needs a cleaner background or a different format, fix it in Image Master first.
How much does image to video cost in NeuroHelper AI?
It depends on the model, duration, resolution and inputs you choose. Video Master shows the current estimate before you generate. Start with a $1 trial, then choose Basic $19 or Pro $49.